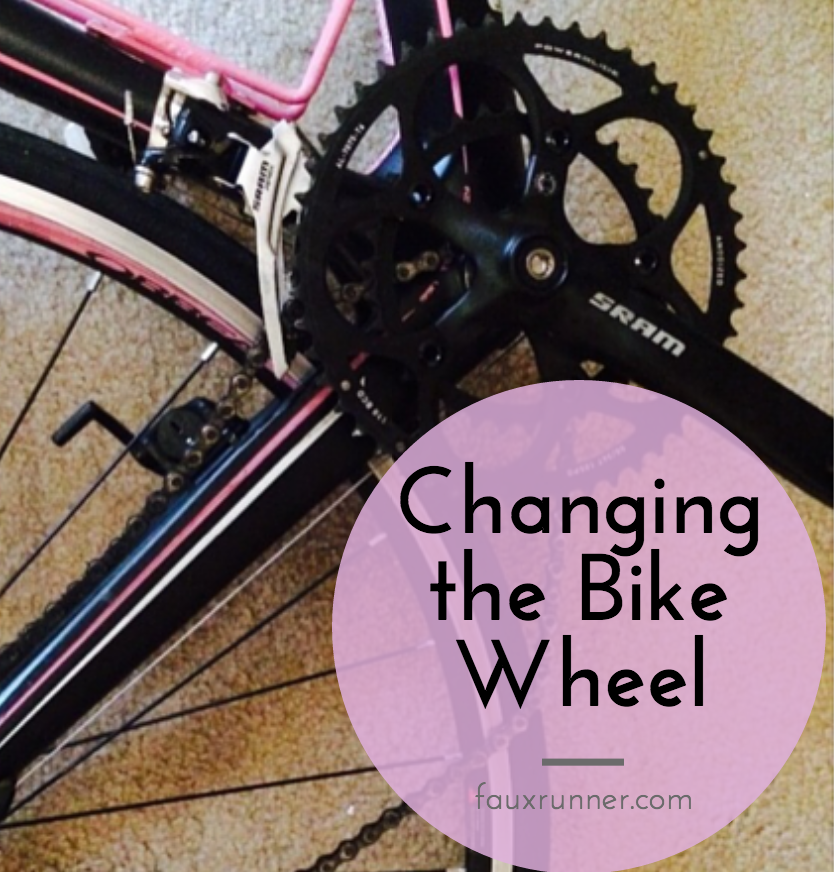
The Bike and Me: How to change a Bike Wheel
I usually do a training recap on Monday and today it is slightly different. It is the tale of my bike. And me. And our relationship. And how I learnt how to change a bike wheel. When I first met her (the minions call her “Black Beauty”), I was smitten. We’ve been together for a year and a half on an easy ride – platform pedals, and saddle closer to ground without a proper fit. This year, we decided to take things to the next level by signing up for Augusta 70.3. When you spend a lot more time with someone than you have ever before, you discover a lot of things you didn’t know about them. And there are a LOT of things I need to learn about Black Beauty. I’m getting there – I’ll learn!
One the main things to learn is to fix a flat. And to fix a flat, you need to be able to take the wheels off your bike. Taking the front wheel off with the quick release skewer isn’t a big deal.
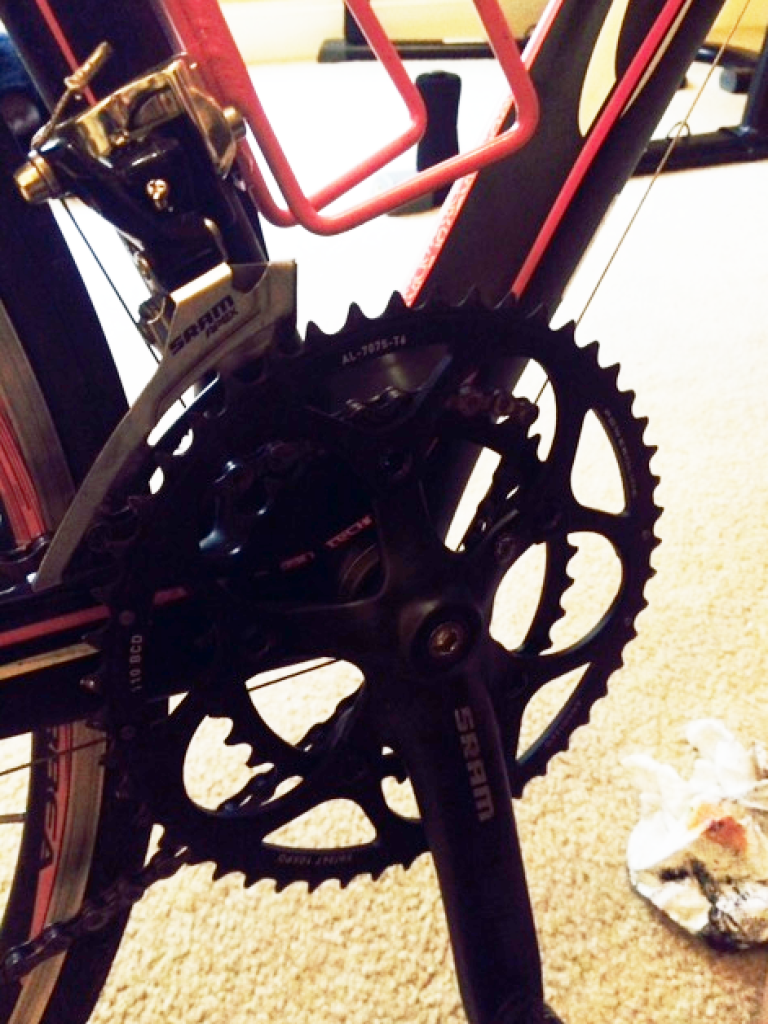
But the back wheel – now that’s a different story with the derailleur, the chain, the crank, the … see how I’m throwing out names of machinery parts and pretending like I know it all. Yep. It is really that intimidating.
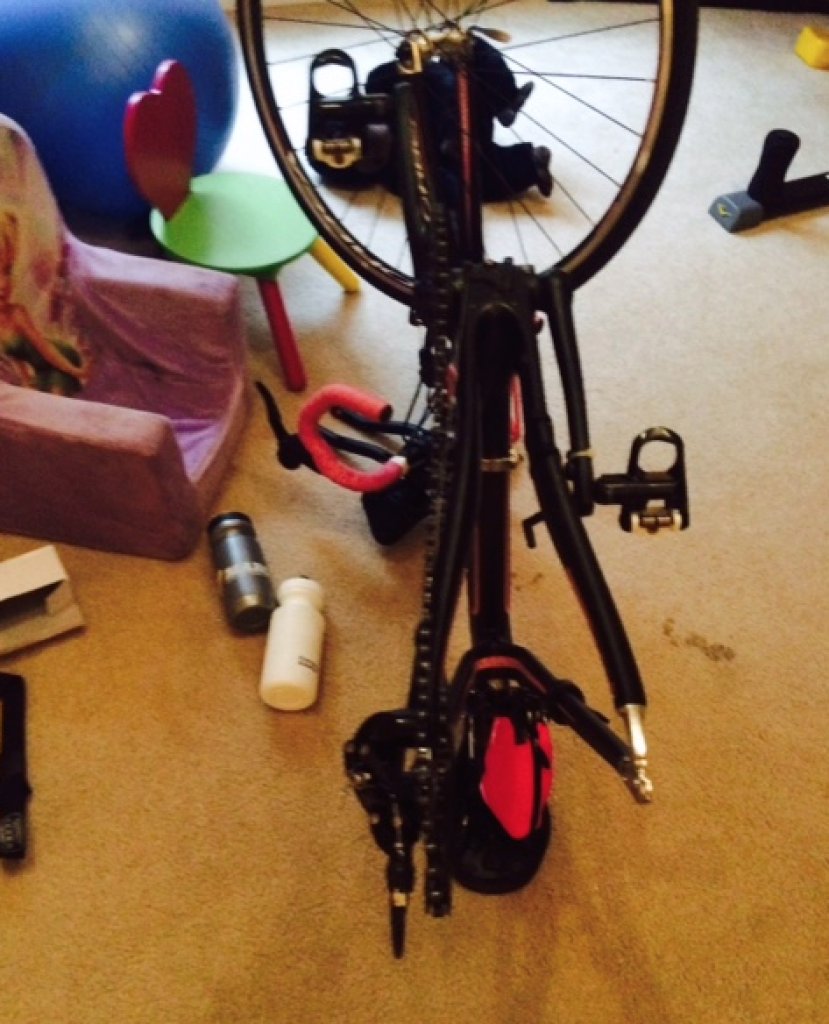
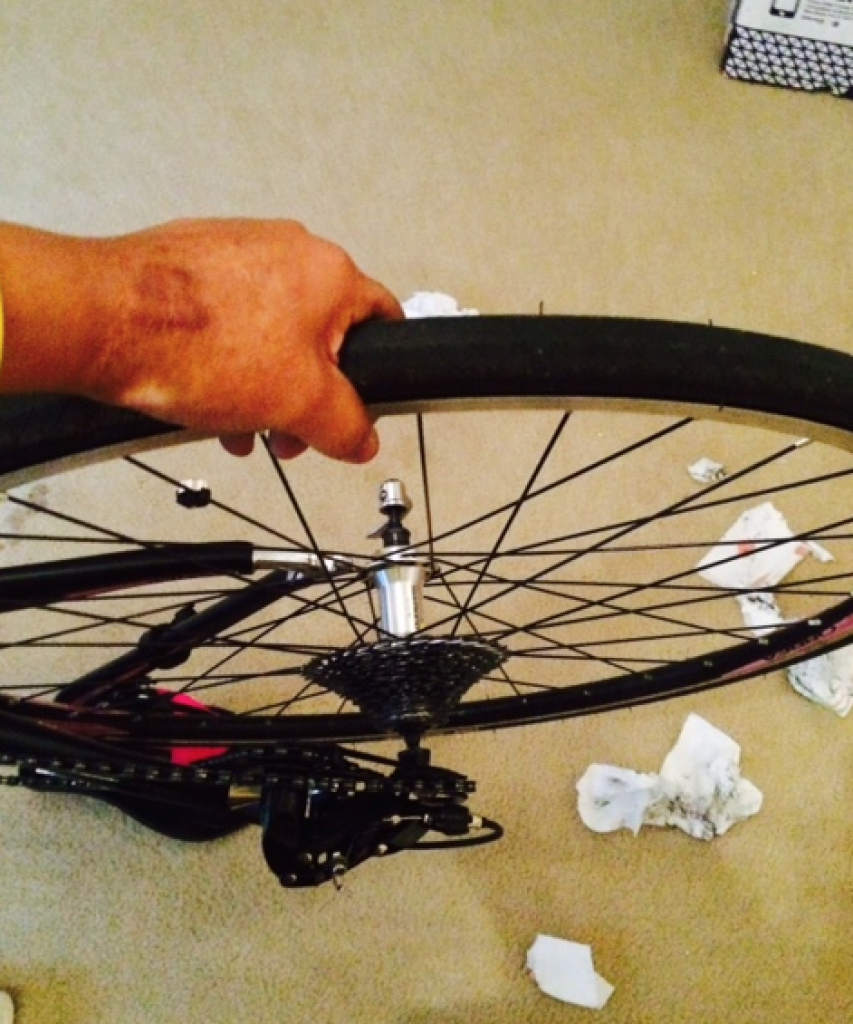
I had to get the bike minus the back wheel on my new trainer. And so I got the wheel off by unscrewing the quick release skewer and doing a fair bit of rattling to shake the wheel out.
Then it was time to put it back.
How hard could it really be? Right?
Right!!
I even tried to turn the bike upside down to make it work.
After countless youtube videos, I managed to put the wheel back on.
And then I dropped the chain … That’s happened before, even though I’ve never been the one to put the chain back.
More youtube videos followed and I finally got the chain back on.
THEN THE WHEEL WOULDN’T SPIN.
And there was a greasy mess on the carpet from the gunk on the chain. And on my tri shorts. Apparently, I’d do good to take my own blog advice on using latex gloves to handle the wheel.
A lot of frustrated yelling and a few tears later, I gave up and stormed off.
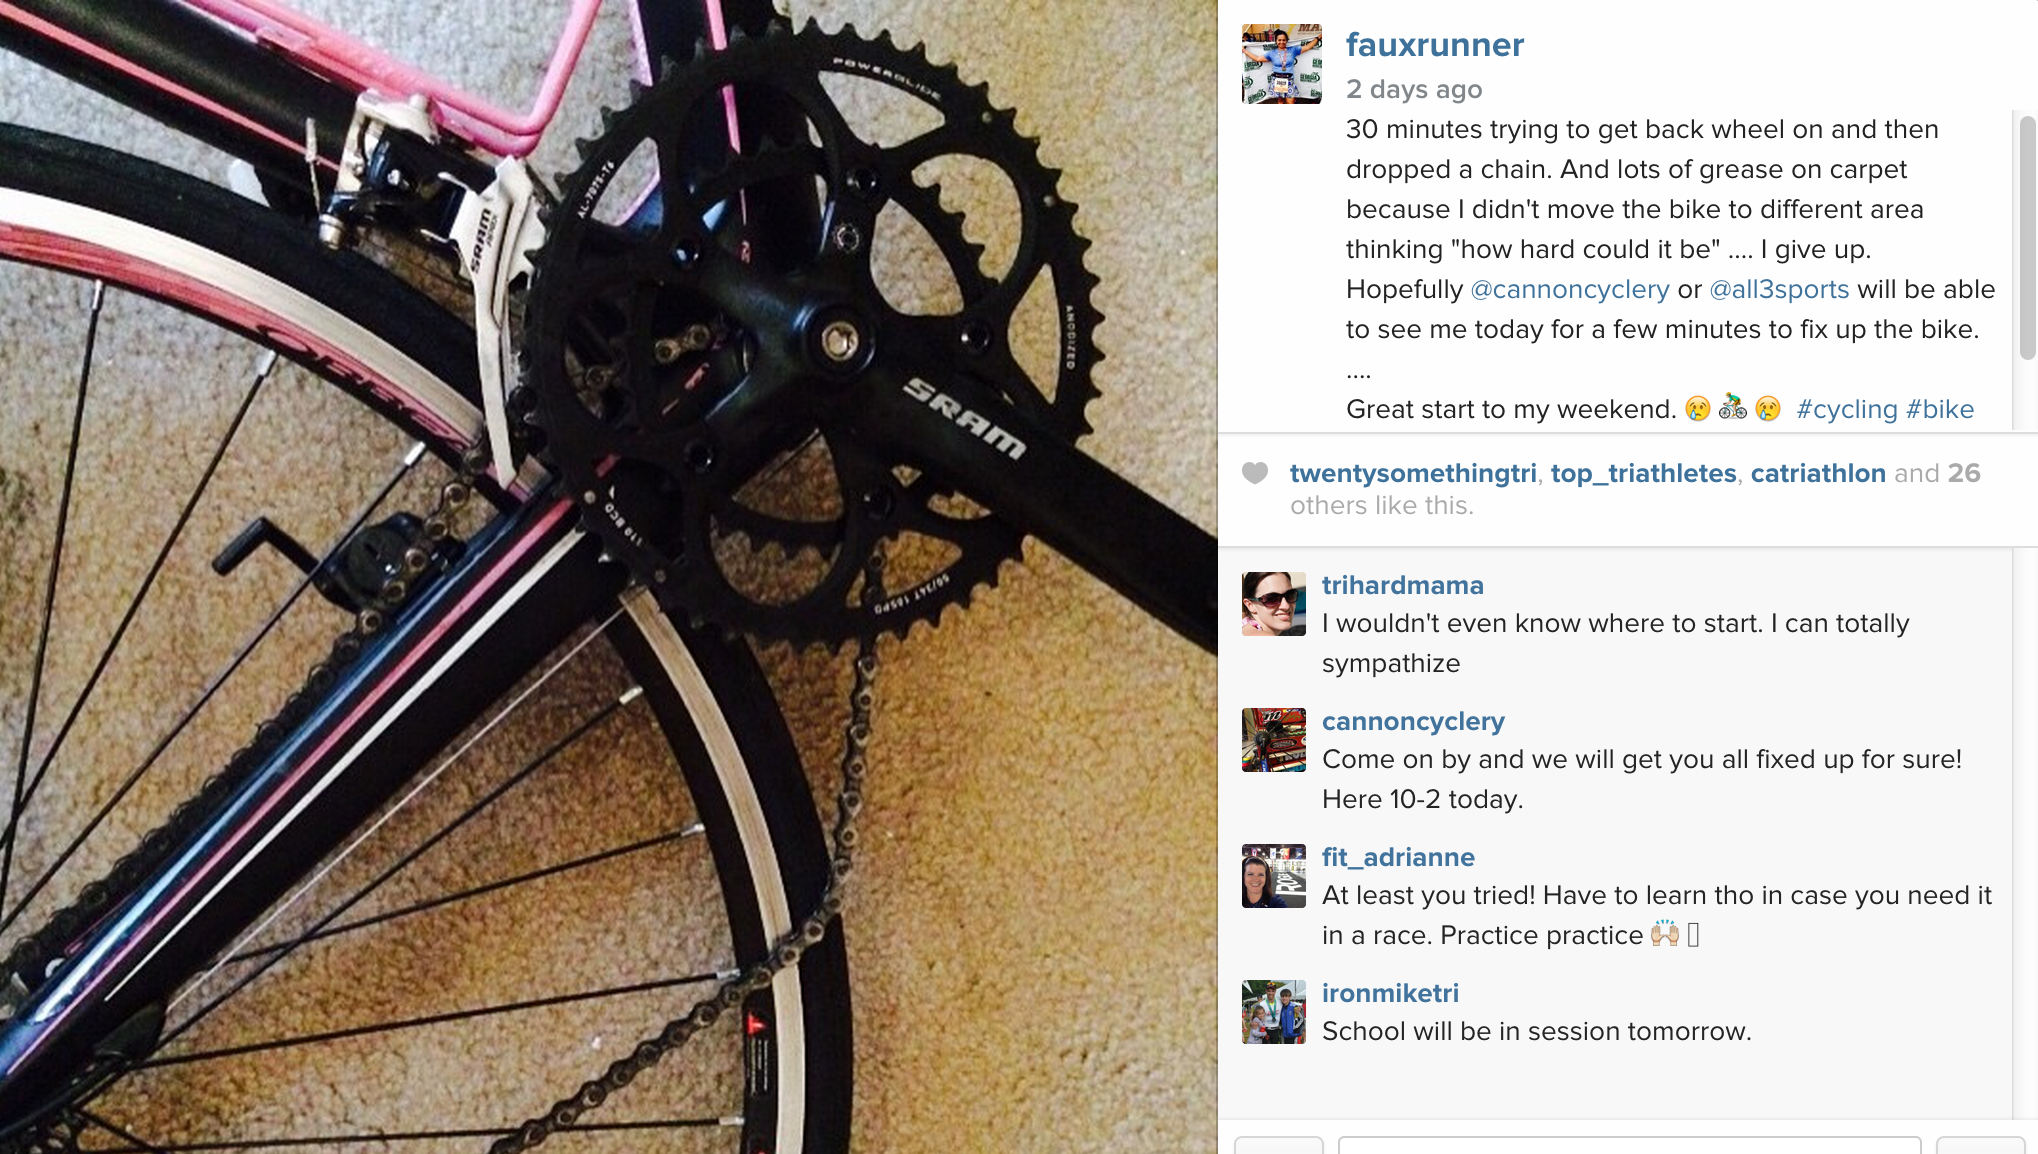
Embarrassed and sad, I posted it on Instagram and fixed up to go to the bike store to get it taken care of.
Later, Mike came to the rescue to teach me how to get through the process without tears. While You-Tube videos are definitely helpful, someone watching you and correcting each step is a huge help. (No photos of videos of the lesson! I was focusing on breathing through it and photos were the last thing on my mind.)
At the end of the day, Black Beauty and I were at a better place than we were in the morning. All it needed was some perseverance and some help to get us going again. Just like any new relationship.
What did I learn about wheel fixing through all this? I’ve made a step by step list that is going to be super helpful in going through the process.
- Remember those gloves and probably some newspaper sheets under your bike or move to a cement floor, unless you want to expend your energy and increase stress levels trying to clean up the carpet.
- Always shift to the smallest cog on the back and the biggest ring in the front (closest to the side that comes off) BEFORE taking off the back wheel.
- Take note if the bike wheel comes off from pulling it away from the frame downwards or backwards. That is how it will go back on.
- Don’t put your bike on the derailleur side down when you have to put your bike down to work on the wheel.
- While putting the back wheel back, make sure it goes back in between the chain (I had to move mine out of the way).
- Settle the chain on the smallest cog on the wheel and move the wheel into position.
- Tighten up the quick release wheel skewer (the right way! I was doing it wrong and the curve of the skewer was in a position where it would’ve caught something up and then oops!)
- Make sure the brake pads are aligned. I always had to manually adjust everytime I did this wheel maneuver. AND this was my culprit to the “Wheel wouldn’t spin” issue. (You can laugh! I’ll remember this checklist in order next time.)
- Once you are done, shift back up to the small ring in the front and big in the back to help you have an easy mount back on the bike.
- BREATHE through it all. No point in adding stress to an already stressful situation on race day (BTW – I’m all in favour of earning some good karma and offering prayers that any unwanted situation does NOT happen on race day)
And so – there it is! How I spent my weekend and how I finally learnt how to change the wheel on my bike. If you want something more visual try this YouTube video. My next step is to learn to fix a flat!
What do you have to add to this wheel changing saga? Any experience on wheel changing and any tales to share?
I’m Linking up with Tara from Running’n’Reading for the Weekend Update.
Connect with me on other social media channels
Twitter | Facebook | Instagram | Pinterest | Bloglovin